
handmade pottery process
(how it happens)
alchemy.
fire.
transformation.
Every piece of pottery I create starts with a lump of clay. I prefer smooth, light-bodied clays that are fun to throw and show off the luminous glazes I love. I begin with a ball of clay, spinning and shaping it on my wheel into a familiar shape, using my hands, my pottery tools and my eyes to find that sweet spot when it looks and feels pleasing to the eye, and the right size for its purpose.
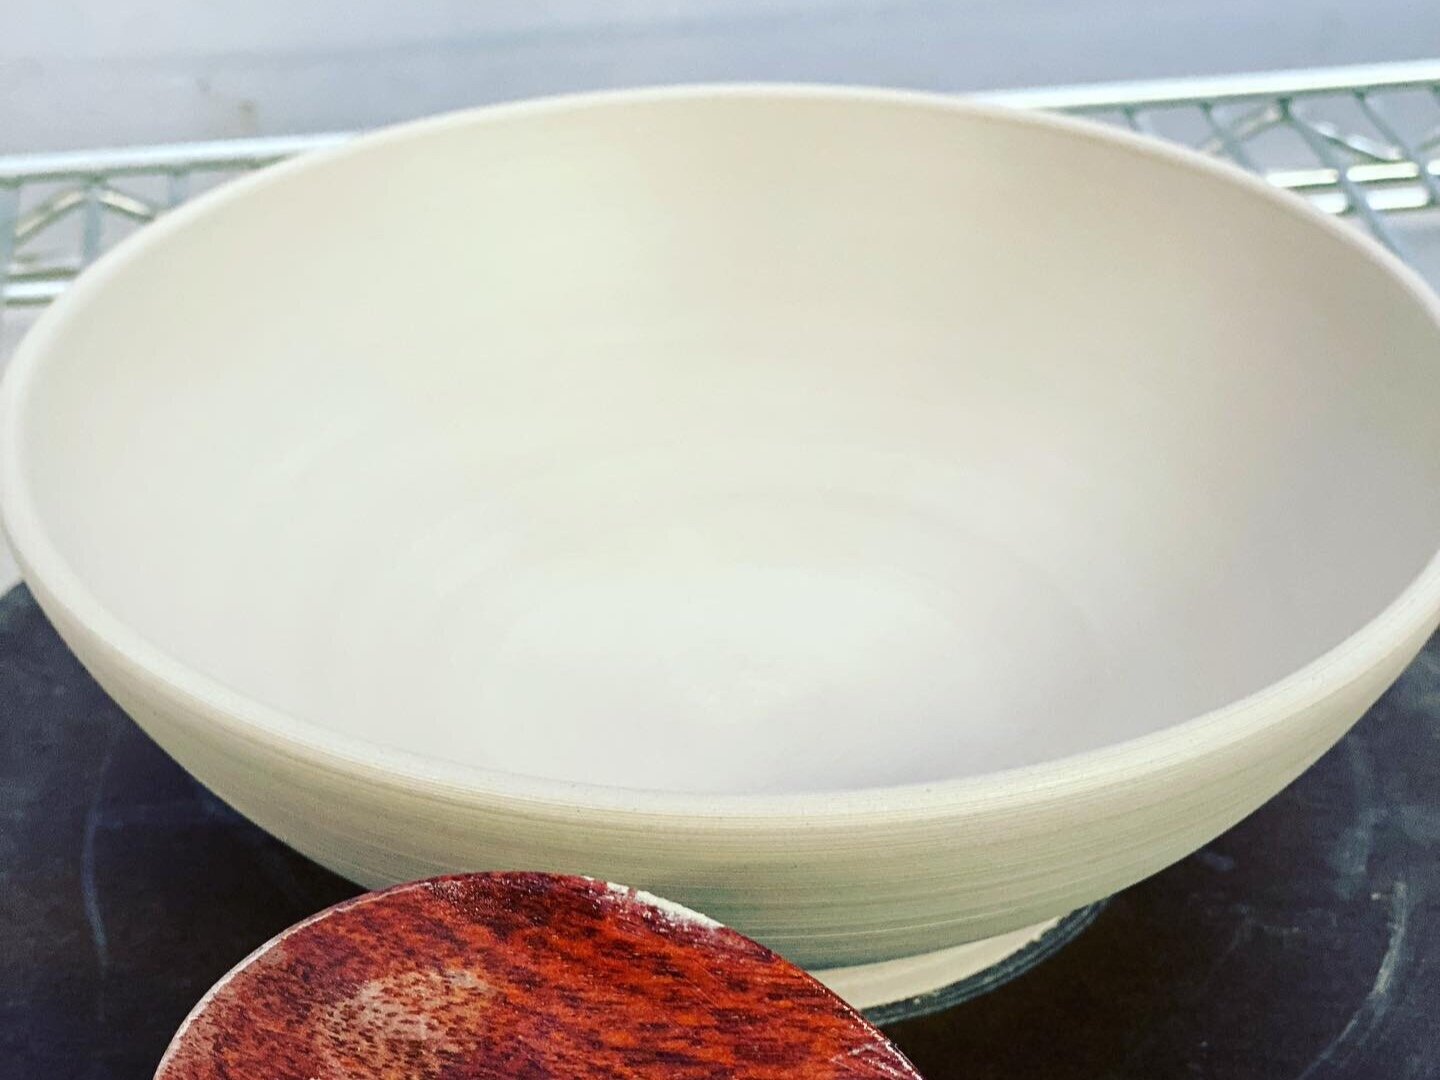
This bowl or cup or plate then sits overnight (or more) until it’s “leatherhard”, ready to be placed back on the wheel upside down, to trim the excess clay, refining the shape and creating a “foot” on the bottom.
a freshly thrown bowl
I love each of these stages, and witnessing the transformation of the clay into the beginnings of a piece of functional pottery that could last for years (generations) of daily use.
Once completely “bone dry”, I fire a few dozen pieces in my kiln to about 1900 degrees in the bisque - the first firing. It takes 12 hours to fire, and about 12 hours to cool.

Next, I glaze each piece with 3 to 9 layers of glaze that are brushed on. It looks nothing like it will look once fired…so I keep clear notes and number each piece so I can repeat the ones I love, and refine and create new glaze combinations, while continuing to learn and grow.
I use commercial glazes including Amaco, Spectrum and Coyote, constantly experimenting to find more luminous colors and combinations!
Some pieces in the glazing process…
The second/final glaze firing is to cone 5 or cone 6, about 2165 degrees.
After this final firing, I sand the bottoms smooth, so they feel good and move easily on surfaces. They are now ready to go to their new home with you!
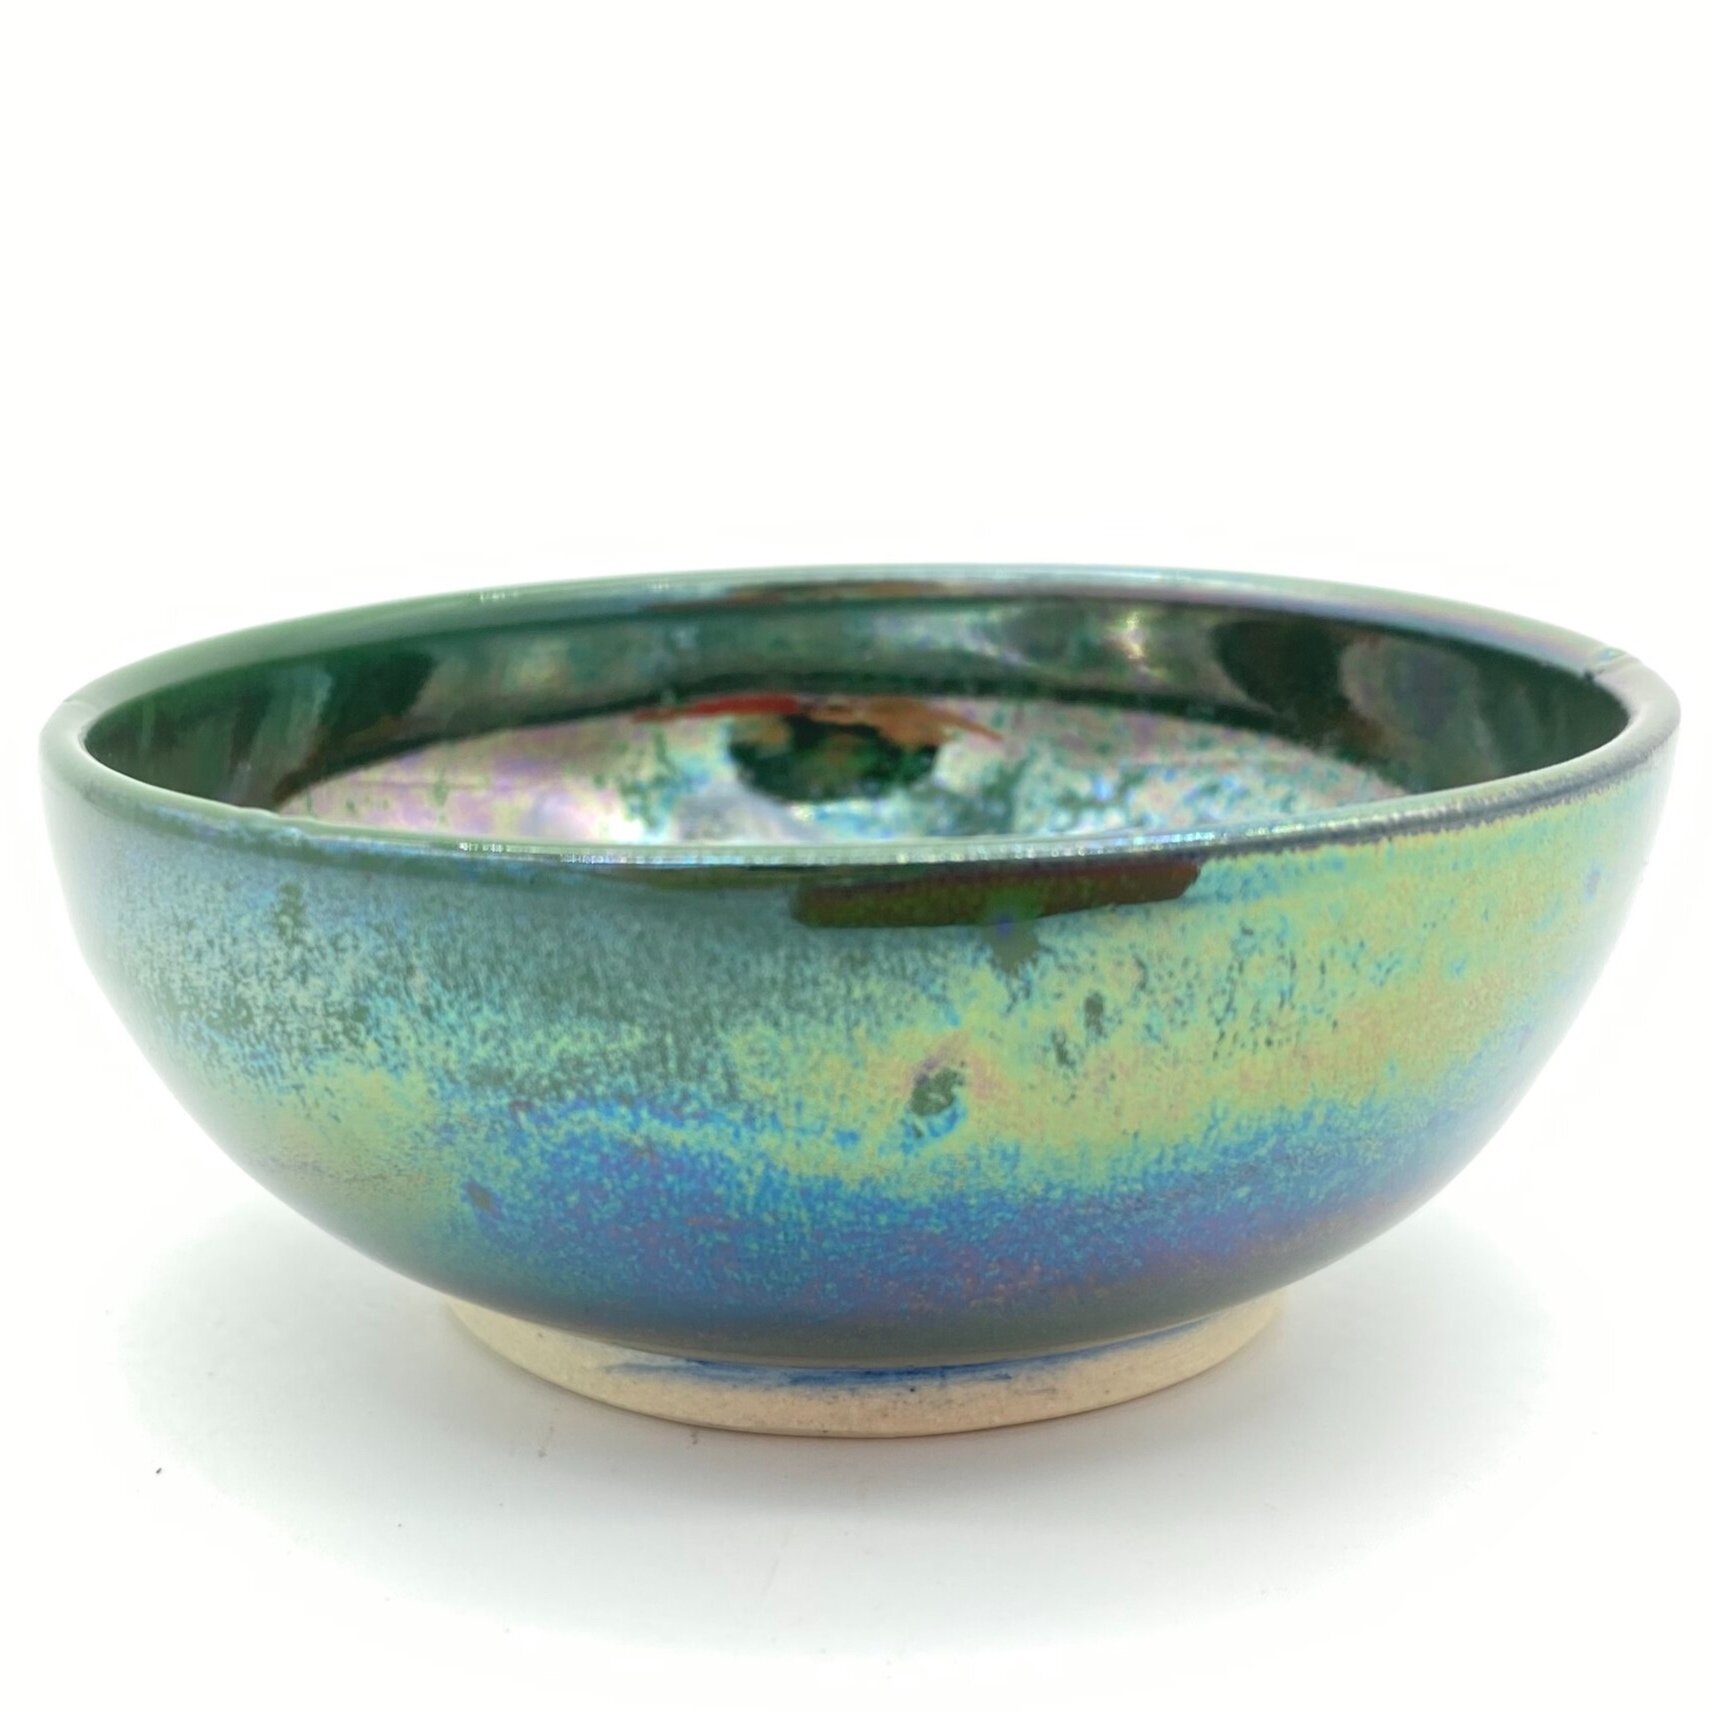
This little bowl has several layers
of glaze applied, creating a metallic, almost rainbow sheen!
Junebug glaze on a small hand thrown bowl
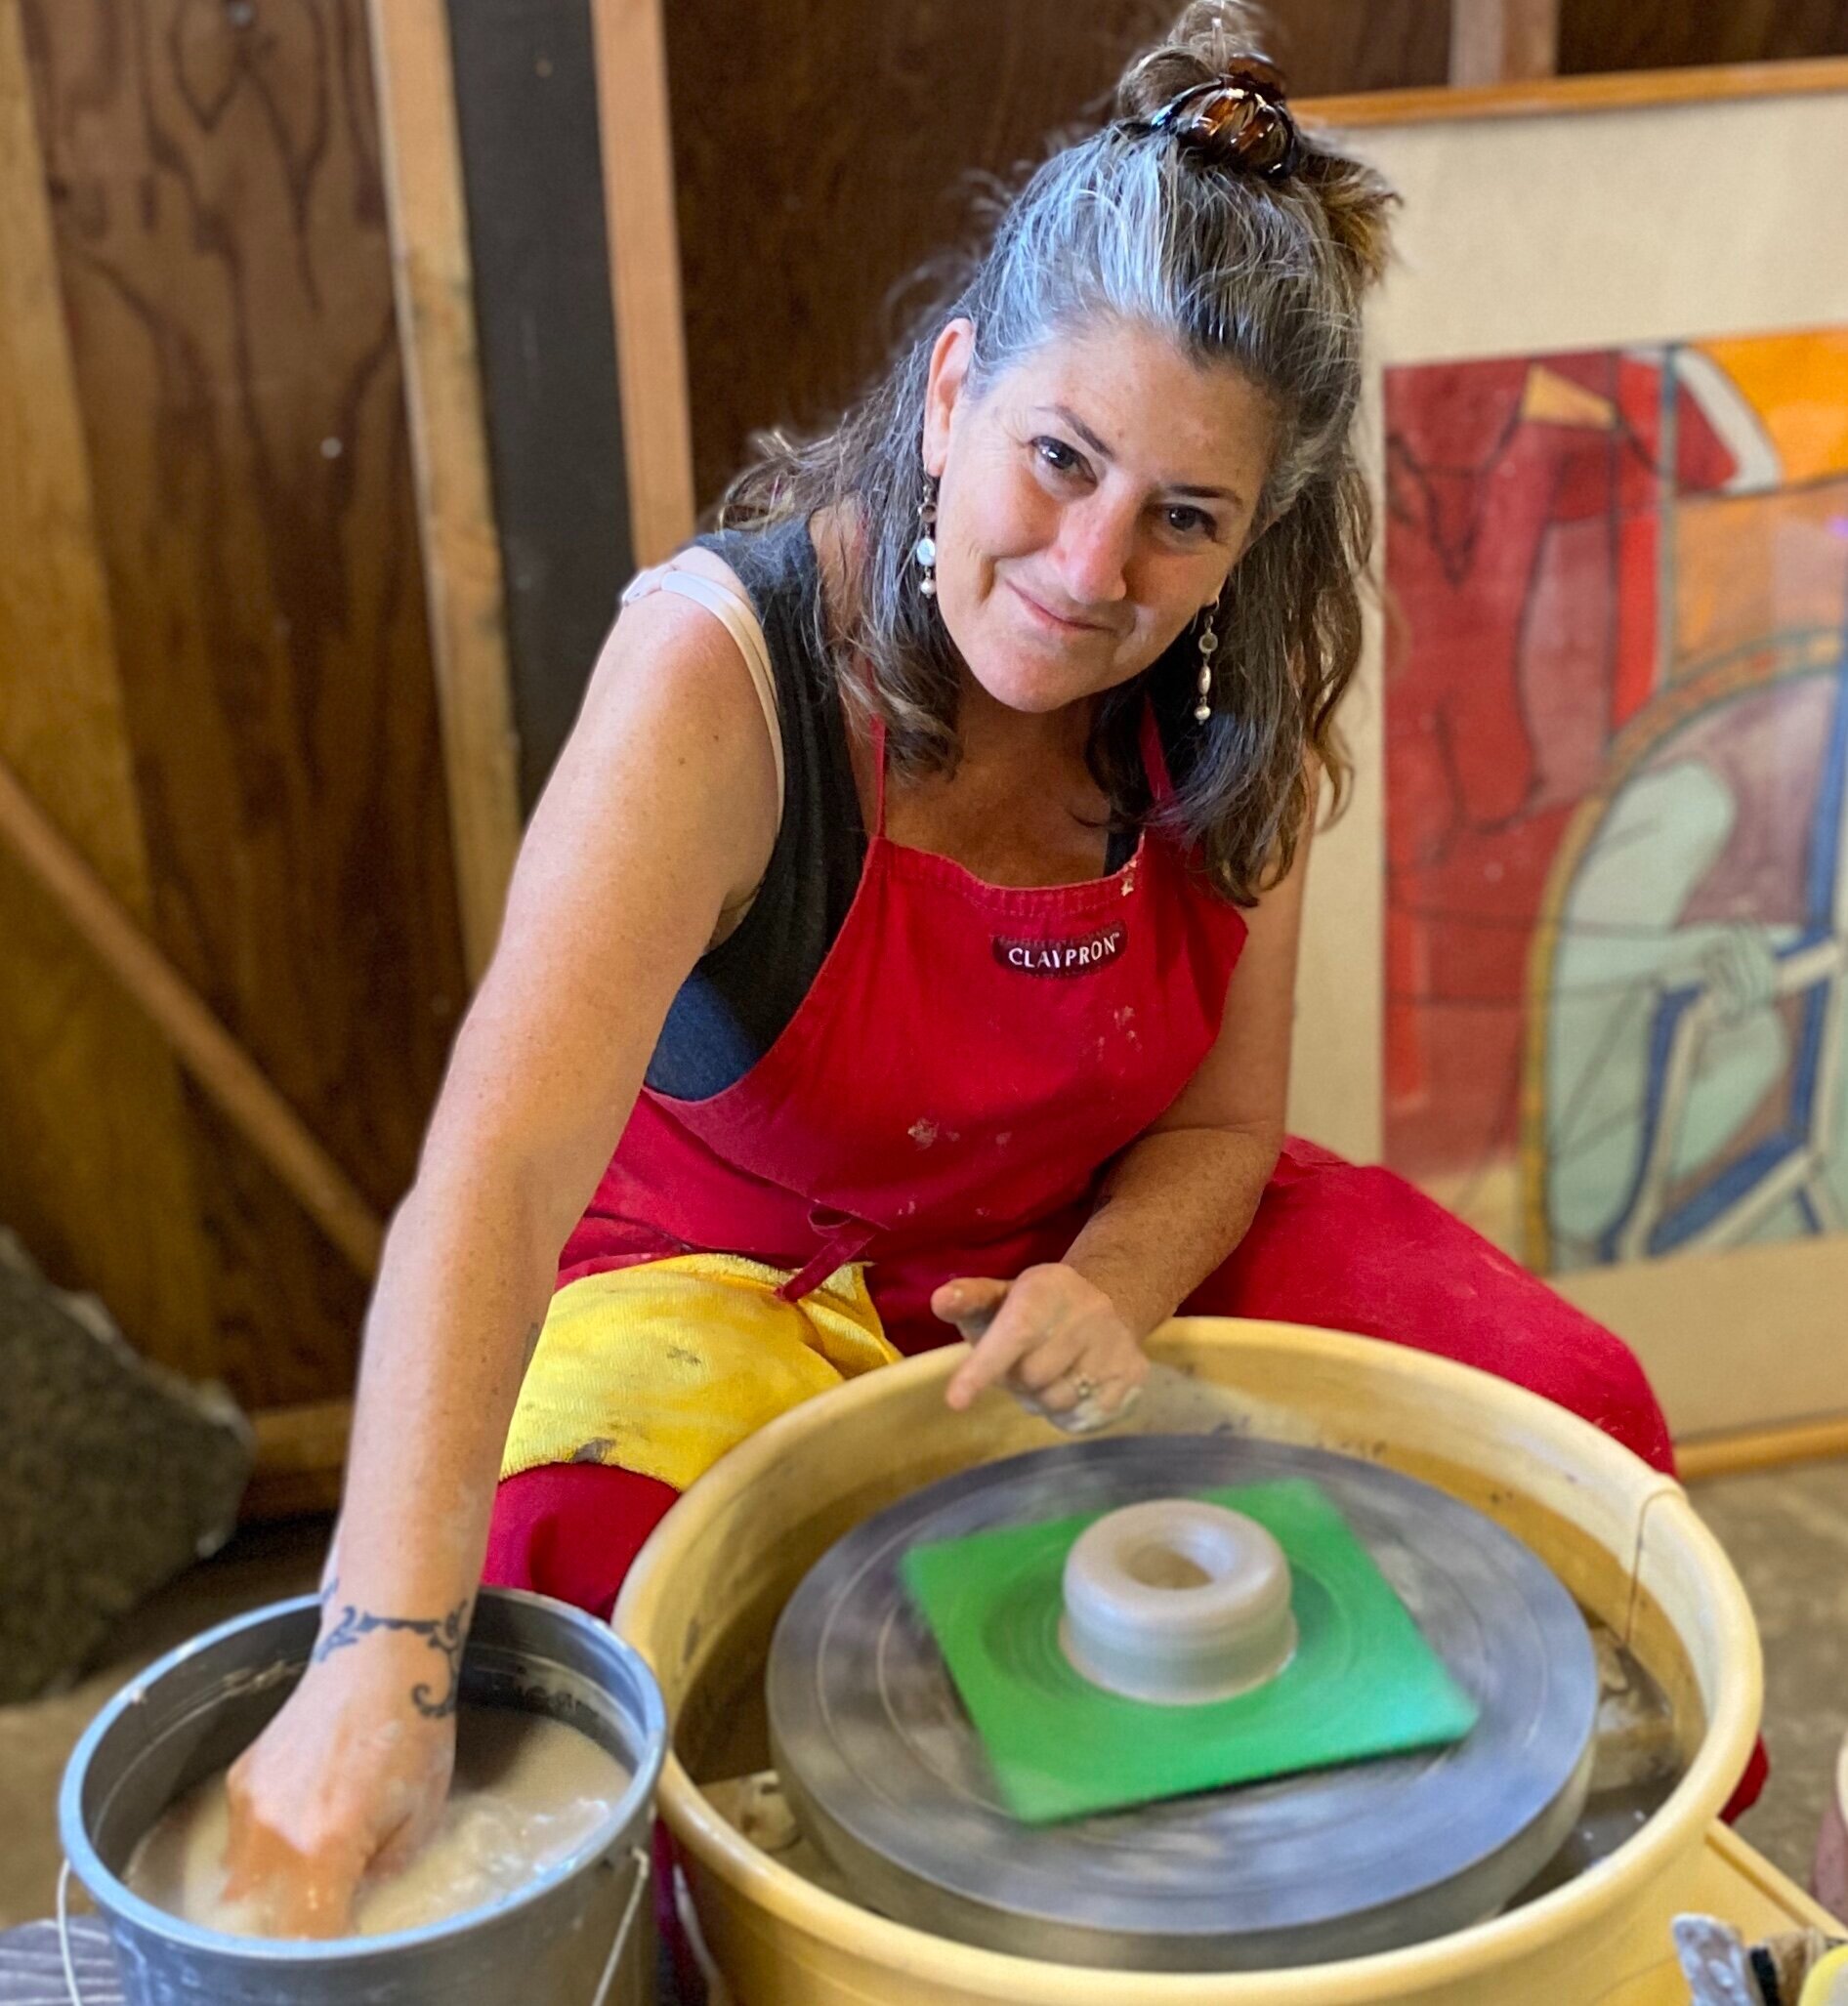
Lucia Maya throwing on the wheel in her Maui, HI studio